photography tips

Training Part III (plus a bonus!)

I hope you all had a great weekend, and if you're in America, I hope you had a great Memorial Day holiday.

Last week, I released the first two parts of a free three-part photography training series and today I'm releasing the third video in the series. FREE TRAINING PART III

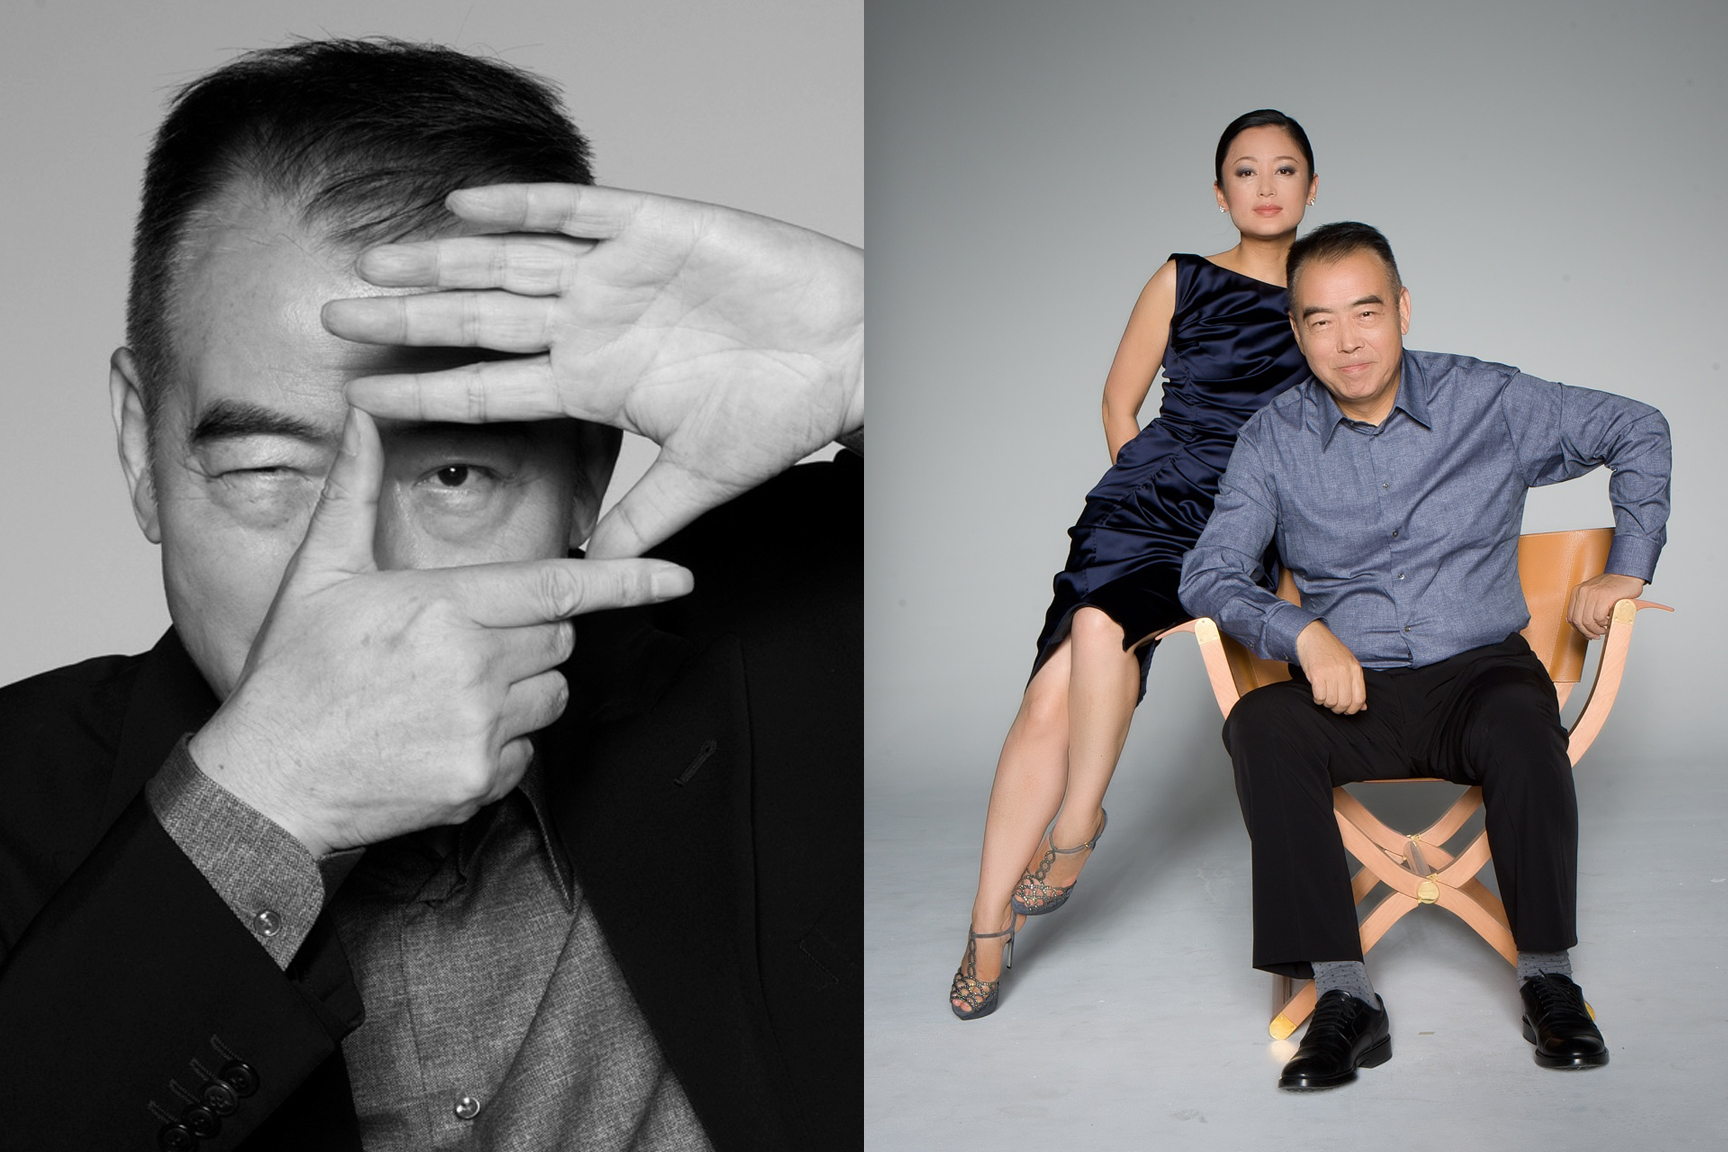
 I've received a lot of great comments via the video page, twitter, Instagram and even instant message and email. One photographer asked me a question about only using natural light. He only uses natural light and wanted to know why I list this as a rookie mistake. I think this question is important for many of us today so I made a short video to explain more.

Always dream big,

Matthew

Ice cold camera tips

Today it seems to be cold everywhere so I thought it was the perfect time to give a tip for taking pictures in the cold.

When going from a warm environment to a cold one, or vise versa, your camera lenses will fog, making it impossible to shoot for 15 minutes or more until the camera becomes acclimated with the temperature change. One way to avoid this is to keep your lenses and camera in large zip lock bags and let them open your camera bags and allow your gear to adjust this way. It's not perfect, but it makes it easier and faster so you can take great shots in the snow this winter. 

Stay warm and always dream big!

Have you seen the light meter app?

Today I received a question related to shooting a 10 page fashion story and having a consistent exposure in all the images. In the question the person said they were shooting outside and because the sun changed throughout the day, the exposure was inconsistent.

My answer to this question is to use a hand-held light meter, or the light meter app if you have an iphone. Surprisingly, the light meter app for iPhone is very reliable and even gives you the color temperature. We have tested the app beside my high-end meter and it has read almost the same. It does not work as a flash meter, but it is perfect for shooting pictures outside.

To have consistently beautiful images get into the habit of always using a light meter. This way your images will have a consistent exposure and your time editing will be greatly reduced. More on light meters in a future post. 

This weeks podcast will discuss using light meters in more detail and make sure to tune in for the free giveaway. A new episode of the Master Your Lens podcast is available every Wednesday morning in the itunes store.


Always dream big!


Big Giveaway This Monday

This Monday I will give away a FREE video on photographic lighting. Whenever I speak or give a workshop, it seems the majority of questions asked are related to lighting, so I've decided to share as much information as possible to help others become better photographers.

Starting Monday, I will share a FREE video that shows tens ways to use one light source. To receive the video just sign in with your email and you'll receive the video.

Have a great weekend!


Always dream big!

How To Master Strobe Lighting

Taking consistently beautiful photographs in studio is a skill and not to be taken lightly. I recently read a photography forum where someone said they watched a shoot during a seminar and then set their camera up with the same settings but still couldn’t get the same results. He went on to say he had the same camera and the same lens, but his images just didn’t have the same look. He ended by asking what was he doing wrong.

I hear conversations like this often since the world turned to digital photography. Photography is much easier now (and the learning curve is not as steep) but you still need to master the craft in every way. This means you must learn about lighting, composition and all the other elements that make a great photograph. If you want to work as a professional photographer it’s not enough to say, “I only work with natural light.” You can only get away with that for so long.

Learning how to use strobe lighting takes time and effort. It’s not always fun doing the necessary light tests needed to master light, but once you put the time and effort into it you’ll be rewarded with consistently beautiful images in studio and on location.

This week I wanted to try a light modifier that I’ve never used before. I’ve used a similar modifier for years, but I know each light has its own distinct look. Before I can use it on a job I need to test it out and see how it looks.

Milk Studios, the top studio in Hollywood, was gracious enough to let my assistant and I come in and take the light for a test drive. They showed us how to properly set the light up and how to use it with my preferred strobe system, Profoto strobes. As we conduced the light test we did a live broadcast on Periscope.

Light modifiers: Briese Focus 220 and Focus 77 with Profoto strobe system

Camera: Nikon D4s with 85mm lens

Results below

Bare Head with the 220 focus tube shot flood, half way and spot.

Bare Head with the 220 focus tube shot flood, half way and spot.

220 focus tube with 1/3 net and focus tube shot flood, half way and spot.

220 focus tube with 1/3 net and focus tube shot flood, half way and spot.

220 focus tube with full net and focus tube shot flood, half way and spot.

220 focus tube with full net and focus tube shot flood, half way and spot.


Briese Focus 77 with Profoto strobe system

Bare head Focus 77 with focus tube shot flood, half way and spot. 

Bare head Focus 77 with focus tube shot flood, half way and spot. 

Focus 77 with 1/3 silk shot at flood, half way and spot. 

Focus 77 with 1/3 silk shot at flood, half way and spot.


Focus 77 with full silk shot at flood, half way and spot.

Focus 77 with full silk shot at flood, half way and spot.

This test was helpful in many ways and much easier than in the film days. With film, if you made a mistake it was a pain to correct. If you make a mistake with digital you just erase one image.

It's important to keep track on what you're doing with every step of the lighting test. You can do as many variations as you'd like, for example you can change the distance from the light to the subject and do exactly the same series of tests you see here. It's totally up to you how extensive you'd like to be. If you notice we didn't fill in the height on this test, as I didn't think it was necessary for this particular light test. If we were testing a beauty dish out however, the height would be a factor.

To learn more about lighting check out the following video tutorials:

 Ten Ways To Use One Light Source

How To Work With Complex Lighting Situations


Always dream big...and test your lights.

Farewell My Concubine

I have always loved watching movies, and not just American movies, but films from all over the world. In the 90's I started watching popular Chinese movies and became intrigued by how the stories were told. Some of the movies I watched were, Raise the Red Lantern, To Live and Farewell My Concubine. Never in a million years did I think I would ever get the opportunity to photograph one of the directors, but life has a funny way of bringing things to you. This is why it's important to gain control of your thoughts because what you think about, you bring about.

When I learned I had the assignment in China of photographing Chen Kaige and his lovely leading lady Chen Hong, I was excited and wanted to try and learn to speak a little Mandarin before the assignment. I purchased the Rosetta Stone's Mandarin language course and studied as much as possible before my trip to China. I wanted to be able to greet my subjects properly at the very least. I even learned how to say, "that's nice" so as I photographed them, I could say, "Henhow, henhow!"

Well, on the day of the shoot everything was going great. I ordered beautiful flowers for his wife and had the right music playing as they walked into the studio. As I went to say hello and try and speak the few phrases I'd learned , Mr. Kaige said, in perfect English "oh you know a little Mandarin?" I quickly told him I only know a few words and phrases and he laughed and said they spoke English. As the shoot progressed, what really made the day enjoyable was Mr. Kaige's enjoyment of the music I played during the shoot. 

I was horrible at speaking Mandarin, but my subjects were happy that I took the time to try for them. The lesson here is to do everything you can before an assignment to make your clients (and subjects) feel like they are the most important people in the world. Taking the actual photograph is usually not the hardest part of the day on a photo shoot. The hardest part is connecting with your subject and pulling out the best of them while they are in front of your camera. Taking the time to get to know everything about your subject is important for the success of the shoot. Even when you can't speak the same language, music can serve as your universal language to relax your subjects and help you get great shots.


Have fun and always dream big!